Skenos Technology Intern
Skenos Technologies — Corpus Christi, TX | Summer 2026

I started the internship a few days after finals this past summer. Most of the summer was spent on three separate hardware products: a battery-powered design I took over and redesigned, a new camera product, and a third simpler product I started from a bench prototype.
Product 1 — Battery-Powered Device
Iteration 1
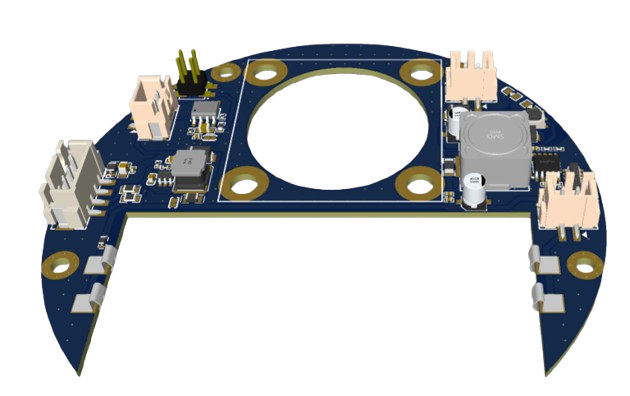
I was asked to pick up a project a previous employee had been working on. Before changing anything I wrote a report on that existing design: what I thought of the approach, and which parts looked like problems. After more research I proposed a safer architecture, submitted a first design, and got the owner’s approval. We ordered that PCB and I started debugging it as soon as it arrived.
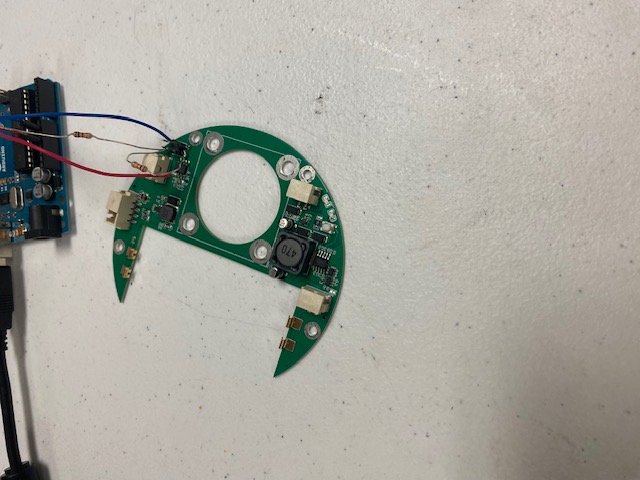
On that first board the charging circuit and the boost converter worked. The microcontroller did not. The part we had chosen had almost no documentation and was difficult to program. That same first board also had a critical problem in the battery-protection circuit.
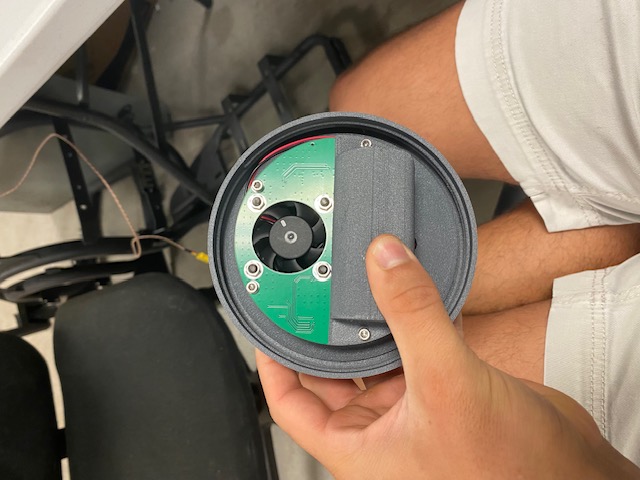
For the housing I designed a 3D-printed case that used screws to hold everything together. That first case fit together perfectly.
Iteration 2
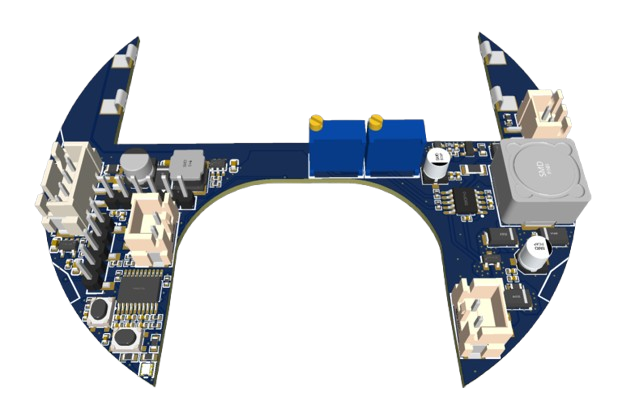
The second board fixed the battery-protection circuitry and cleaned up the rest of the layout. It was a much cleaner design than the first. This is also the version that moved to STM32. I wrote my own libraries for the chip — timers, analog, GPIO, and the other peripherals the board needed. Getting that firmware working took about a week.
A small protection bug was still there after that second board came back. Instead of waiting on another order I modified the assembled PCB with a Dremel and a soldering iron and kept testing. I then spent a lot of time on charging-cycle tests to make sure the pack actually charged and protected the way it was supposed to.
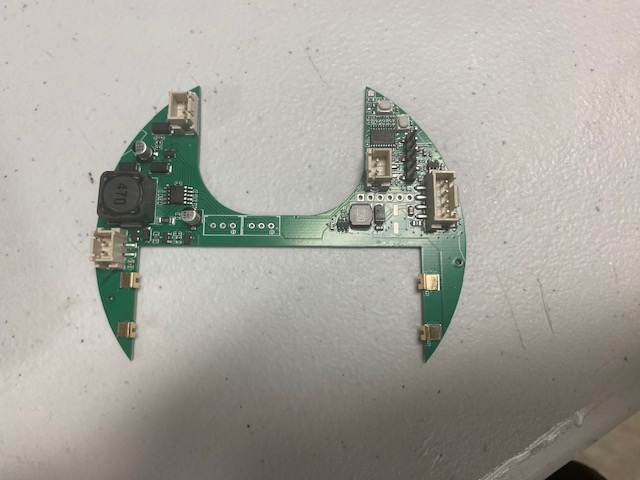
I also designed a second case for this iteration. The first case had used screws at every joint. This one used no extra hardware — only 3D-printed snap-fit connections, so the whole assembly clicks together. Getting those fits right took many prints.
Iteration 3
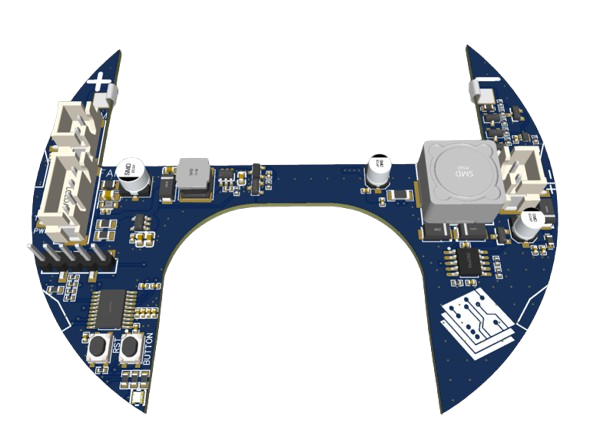
The product is still in testing. A third revision of the PCB is designed and ready to order.
Product 2 — Camera Product
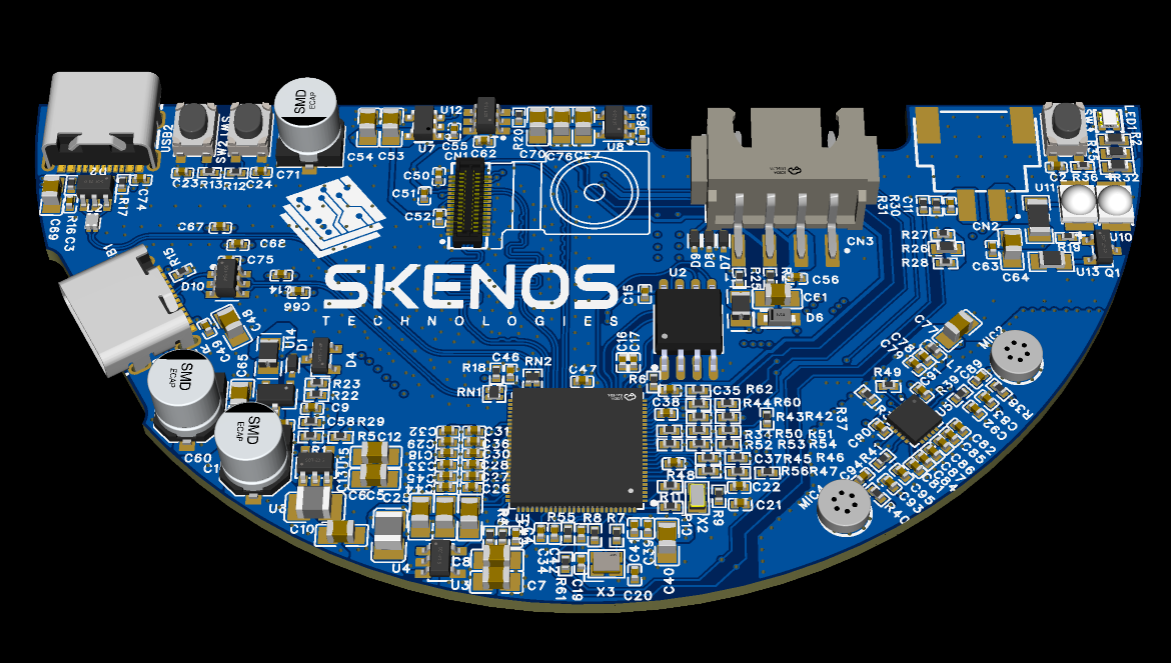
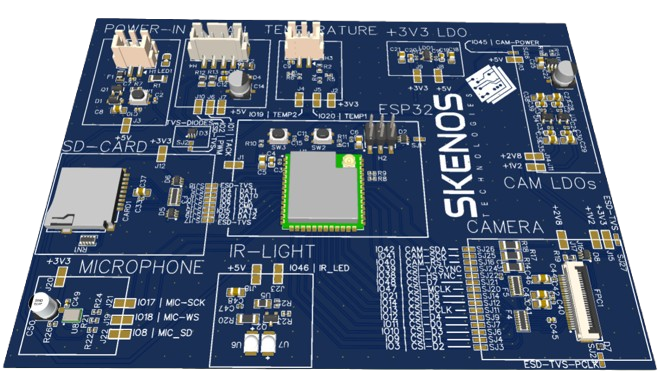
While Product 1 was still in development I started a second product built around a camera. The first version of that board used an ESP32-S3 and a 2MP camera. We needed more GPIO than the S3 gave us, so the design moved to the newer ESP32-P4 with an 8MP camera.
The P4 board was the first PCB I designed with a significant number of differential-pair traces, and it was my first four-layer board. That design is ready. It will be ordered when Product 1 launches.
Product 3 — Standalone Product
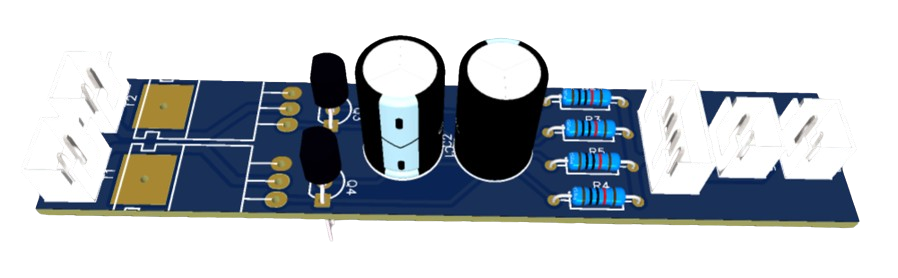
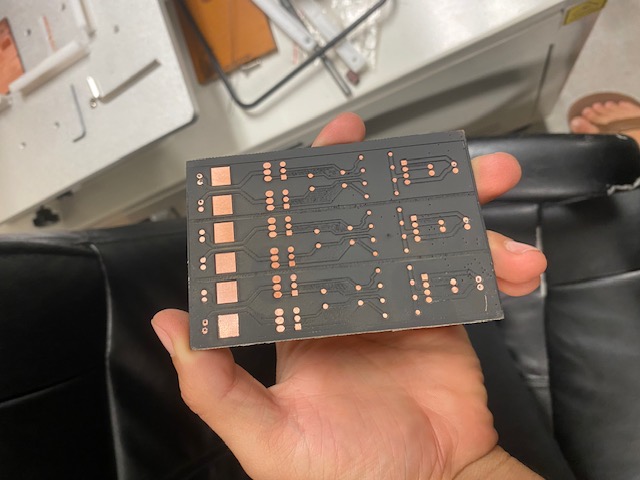
Separate from the first two, a simpler product was started in the shop. I built a working circuit prototype on the bench with discrete transistors, MOSFETs, and capacitors. After that circuit worked I started the PCB and tried fabricating an early version of the board with a laser engraver. The case was built by the shop machinist from the design we discussed. This project is still in progress and is waiting on parts.